Related Pages: Standard Balances | Installation: Standard Balances | RETURN TO: EZ-Replacement Balances
Pullman Replacement Window Sash Balances General Installation Information
Fix it yourself without removing the sash. It is easy to fix broken sash balances. Hardware included so that all you need is a screwdriver.
Step 1.
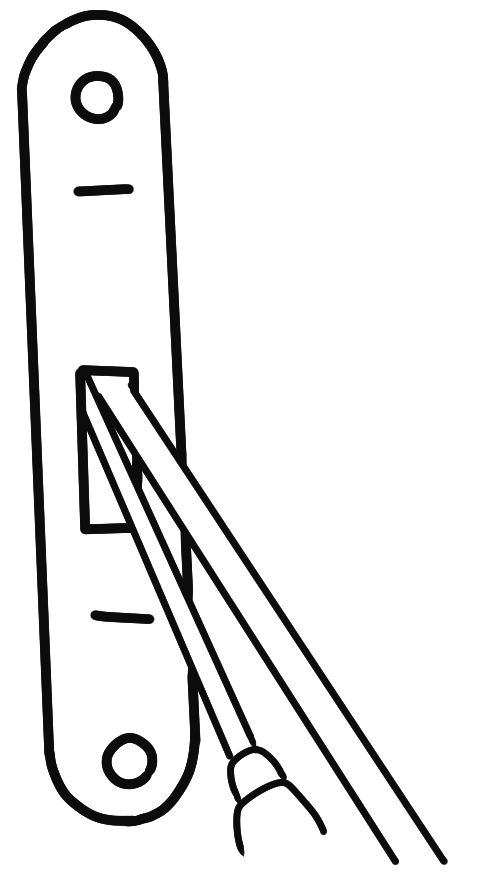
Cut the broken cord about 1/4 inch above the top of the sash and use a tack to hold the free end to the corner of the sash. Remove the old pulley, replace with new Pullman Sash Balance. Enlarge opening if required. With printing on the Balance right side up, drive in both screws. Pull the tape out of the Balance 2 ft. at a downward angle. Wedge a screwdriver up into the opening just underneath the tape to hold it in place. (See Fig. 1)
Cut the broken cord about 1/4 inch above the top of the sash and use a tack to hold the free end to the corner of the sash. Remove the old pulley, replace with new Pullman Sash Balance. Enlarge opening if required. With printing on the Balance right side up, drive in both screws. Pull the tape out of the Balance 2 ft. at a downward angle. Wedge a screwdriver up into the opening just underneath the tape to hold it in place. (See Fig. 1)

Fig. 1
(Click to enlarge)
(Click to enlarge)
Step 2.
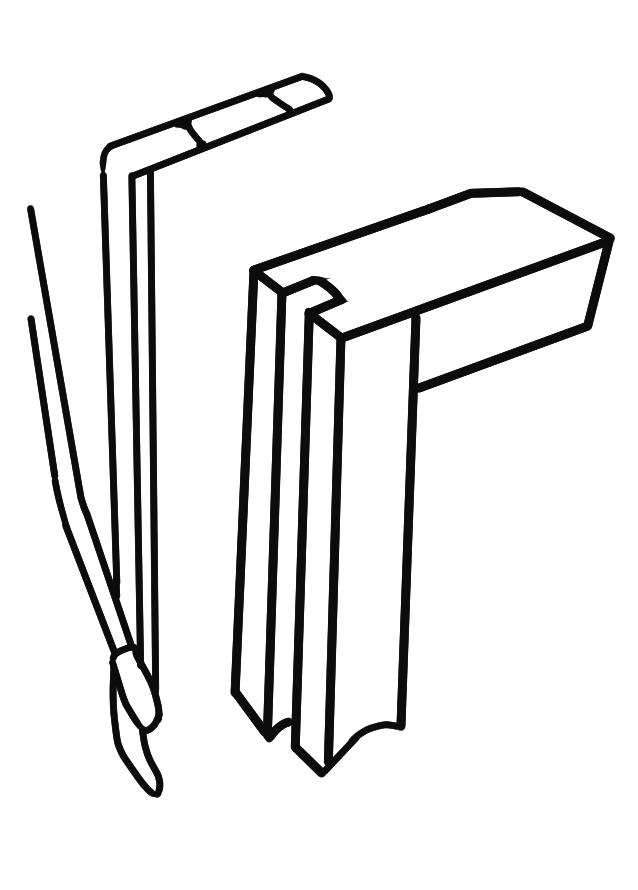
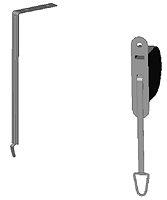
Now insert the prong of the adapter downward through the loop on the end of the tape. Tape must be on the outside of the adapter – the side away from the sash. Be careful not to kink the tape. Next, hold the tape snugly against the adapter and slip the prong-end of the adapter with the tape attached down into the space between the old cord and the window jamb. (See Fig. 2)


Now insert the prong of the adapter downward through the loop on the end of the tape. Tape must be on the outside of the adapter – the side away from the sash. Be careful not to kink the tape. Next, hold the tape snugly against the adapter and slip the prong-end of the adapter with the tape attached down into the space between the old cord and the window jamb. (See Fig. 2)


Fig. 2
(Click to enlarge)
(Click to enlarge)
Step 3.
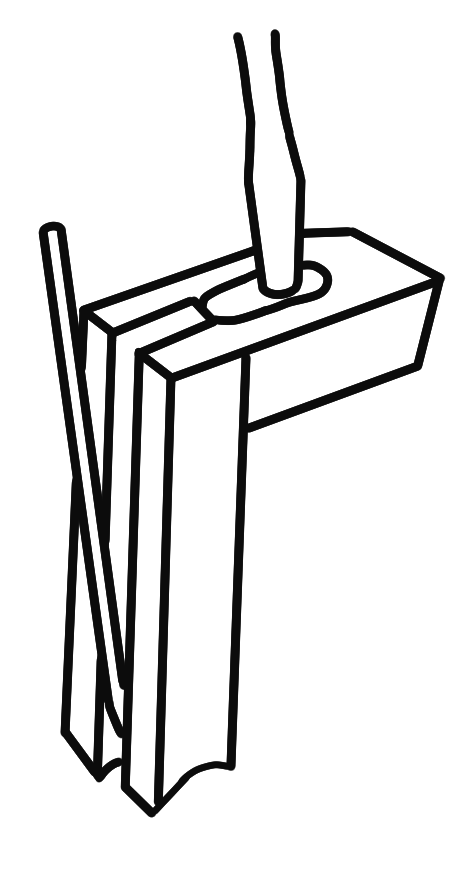
Now, squeezing the adapter against the cord and the sash as tightly as possible, screw it firmly to the top of the sash. Finally, take up the slack in the tape by pulling it, again away from the Balance, and while you hold it firmly, remove the wedge from the opening in the Balance. Then let the tape slowly back into the Balance and the job is complete. (See Fig. 3)

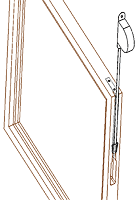
Now, squeezing the adapter against the cord and the sash as tightly as possible, screw it firmly to the top of the sash. Finally, take up the slack in the tape by pulling it, again away from the Balance, and while you hold it firmly, remove the wedge from the opening in the Balance. Then let the tape slowly back into the Balance and the job is complete. (See Fig. 3)


Fig. 3
(Click to enlarge)
(Click to enlarge)


